Readers! I’m still figuring out the best way to do this whole newsletter thing, and strike the right balance between not spamming your inboxes and also not having newsletters than are 20,000 words long. So I’m going to play with splitting the more political content from the feel-good wellness / yoga / food stuff; that way, if you’re here for one of those things but not the other, you can choose what to click. And if you like both, it means the Good Stuff can be a full serving of nice things, instead of coming at the end of the depressing / outrageous / infuriating. The idea is a once-a-week Good Thing that you can incorporate into your life (or not) for a little bit of feeling better.
Good Things: Bone Broth
This week I have basically been living off of bone broth during the day. I returned from a long trip where I got brutal food poisoning, and my stomach has just been… off Pakistani food: Amazing. Pakistani tap water: Less amazing. It was all worth it for the carpets though:

After I travel, I almost always make a chicken coconut sipping broth to settle things out my first morning at home; this week, because real food had not been not my friend for several days, I wanted something a little heartier (lol that broth alone is ever “hearty,” but you get my point).
Bone broth is cheap to make and really good (both good-tasting and good for you), and full of collagen that allegedly makes your hair shiny and your nails grow. It fits into a whole bunch of modern eating fads, including Whole30, Keto and Paleo; it’s also dairy-free and gluten-free. Bone broth is quite versatile if you use it like a hearty stock: Sauté onions and garlic plus carrots and celery, pour your bone broth over it, add egg noodles and have a beef noodle soup (or use rice instead of noodles and make it gluten-free, or add some beef chunks). Poach an egg in it; if you have some greens on hand, throw them in (I like bok choy and scallions with a little ginger). Use it to make a pho-ish soup by adding some star anise, fish sauce, ginger, rice noodles, thin-sliced beef and cilantro / scallions. Cook your beans in it.
There’s a lot you can do, but I mostly just sip on it, adding whatever sounds good to amp up the flavor — my current favorite is turmeric and ginger, but it’s also great with lemon and parsley, or coconut milk and chili, or do the Keto fat-happy thing and add some butter, or honestly just look at the Brodo NYC menu and riff off of what they do.
Some people will tell you that bone broth is the same as stock, which is the same as normal broth. It is not! The key to making bone broth is extracting the gelatin, collagen, and calcium from the bones; the outcome is a product that, when cooled, is jiggly and cohesive like Jell-O, not liquid like stock or broth.
It’s also really easy to make, it just takes some time. I make broths and stocks a lot, and one thing that has made it a million times easier is keeping a ziplock bag in my freezer for about-to-turn vegetables — every time I have a carrot or celery stick or leek whatever that is getting bendy and sad, I put it in the freezer bag, and then pull out what I need when it’s stock or broth time.
Here’s how I make bone broth and what I do with it. I use an Instant Pot, but you can use a big Dutch oven or soup pot as well. This is obviously not a vegan-friendly recipe (and stop scrolling now if you are grossed out by pictures of bones), but certainly vegetable stock can be a nice sipping option as well.
Ingredients
4 pounds of bones. This time I used about 2.5 pounds of beef marrow bones and 1.5 of pork knuckle, all of which was very cheap from the grocery store freezer, but I’ve also done 50-50 beef marrow and soup bones and it was great. A whole chicken is good too, and if you go the chicken route, definitely toss a few chicken feet in there. Whatever kind of bones you use, it’s better if there’s some meat on some of them.
Two small onions, peeled and quartered
A head of garlic, cut in half
2-4 carrots, each cut into four pieces
2-4 celery stalks, each cut into four pieces
Do you have a leek or some old scallions or some other stew-appropriate vegetable you want to get rid of? Use it!
A handful of fresh herbs if you have them
A tablespoon or two of whole black peppercorns
A lot of salt (I don’t measure but I probably use a tablespoon and a half? Maybe two? It’s a lot of salt)
Whatever dried herbs you have that you think would be good. I usually use some fennel seed and some dried oregano.
A tablespoon of apple cider vinegar
2-3 bay leaves
A whole lot of water
Preparation
Rinse the bones and pat them dry, then sprinkle some salt on them.
Put some oil in your soup pot or Dutch oven and heat it up (or in your Instant Pot on the sauté setting). I use olive oil because I like it (and no I don’t care about the smoke point, turn on the fan). Place the bones on one layer on the hot pan, for four-ish minutes per side, until they’re nice and browned all over. You may have to work in a few batches.

(Alternately, you can roast the bones in an oven at 475, and the vegetables too if you want — toss ‘em all together on a baking sheet. I do not do this because some of my vegetables are usually frozen and I’m too lazy to defrost them; I also don’t want to have to wash an extra thing).
Once the bones are all browned, add a little water to the bottom of your pan, and use a wooden spoon to scrape up any stuck bits. Then put everything else on the ingredients list in the pot, and fill it with water up to about an inch from the top.

I put everything in a little steamer basket like this inside my Instant Pot for easy straining later. Give it all a stir just because.

If you’re Instant Potting it, pressure cook on high heat for 120 minutes, and let it release naturally (the total time will depend on the size of your Instant Pot, but if you have a massive one like me it takes about 4 1/2 hours from the time it starts until the natural release is done).
If you’re using a Dutch oven or soup pot, you have to pay more attention, sorry — bring it to a boil, then reduce the heat to a very low simmer. Put a lid on the pot, but leave it slightly ajar (like an inch exposed). Check it every hour or so to make sure that the water hasn’t boiled waaaay down, and add more water when you need to. On the stovetop, bone broth takes at least 6 hours, and is better if you go for more like 8, or even longer if you have time. Twenty-four hours is ideal — cover it and turn the burner off when you’re asleep so you don’t burn your house down — but… who really has 24 hours to make broth? If you do, then I am jealous and you should make it this way because it’s honestly the best; you extract the most good stuff when you simmer it low and slow. Skim the fat as you go.
If you’re lazy, stay with me and the Instant Pot:

When it’s all done, strain the broth. Some people will tell you to separate the fat now; I do that with stock, but not with bone broth (for stock, I use this thing), because I find that the fat separator pulls out too much of the good gelatin-y stuff that makes the broth rich later on. Have some broth now if you want it! Let the rest cool, and pour it into whatever container(s) you’re storing it in. Freeze what you want to use later, and refrigerate what you want to drink over the next four or five days.
Once your broth has cooled in the fridge for a while, the fat will form a solid layer on top, and you can really easily scrape it off. Do not discard the fat! The fat is gold; keep it and roast Brussels sprouts or asparagus or potatoes or really anything in it, or just bring it to my house, I will happily adopt it from you. What’s left after skimming the fat should be nice and jiggly when cold.

Warm and drink as-is, or make it belly-friendly by doing what I do, which amounts to “put some ginger and turmeric in it.” Ginger is great for digestion and turmeric is an anti-inflammatory, so this is an ideal combo if you need to settle your stomach. Also excellent for a hangover. Here’s what you do:
Put your frozen or refrigerated bone broth in a pan. Heat it up.

Once it’s liquified, add some minced ginger. You can grate fresh ginger directly into it, or use the stuff from the jar.

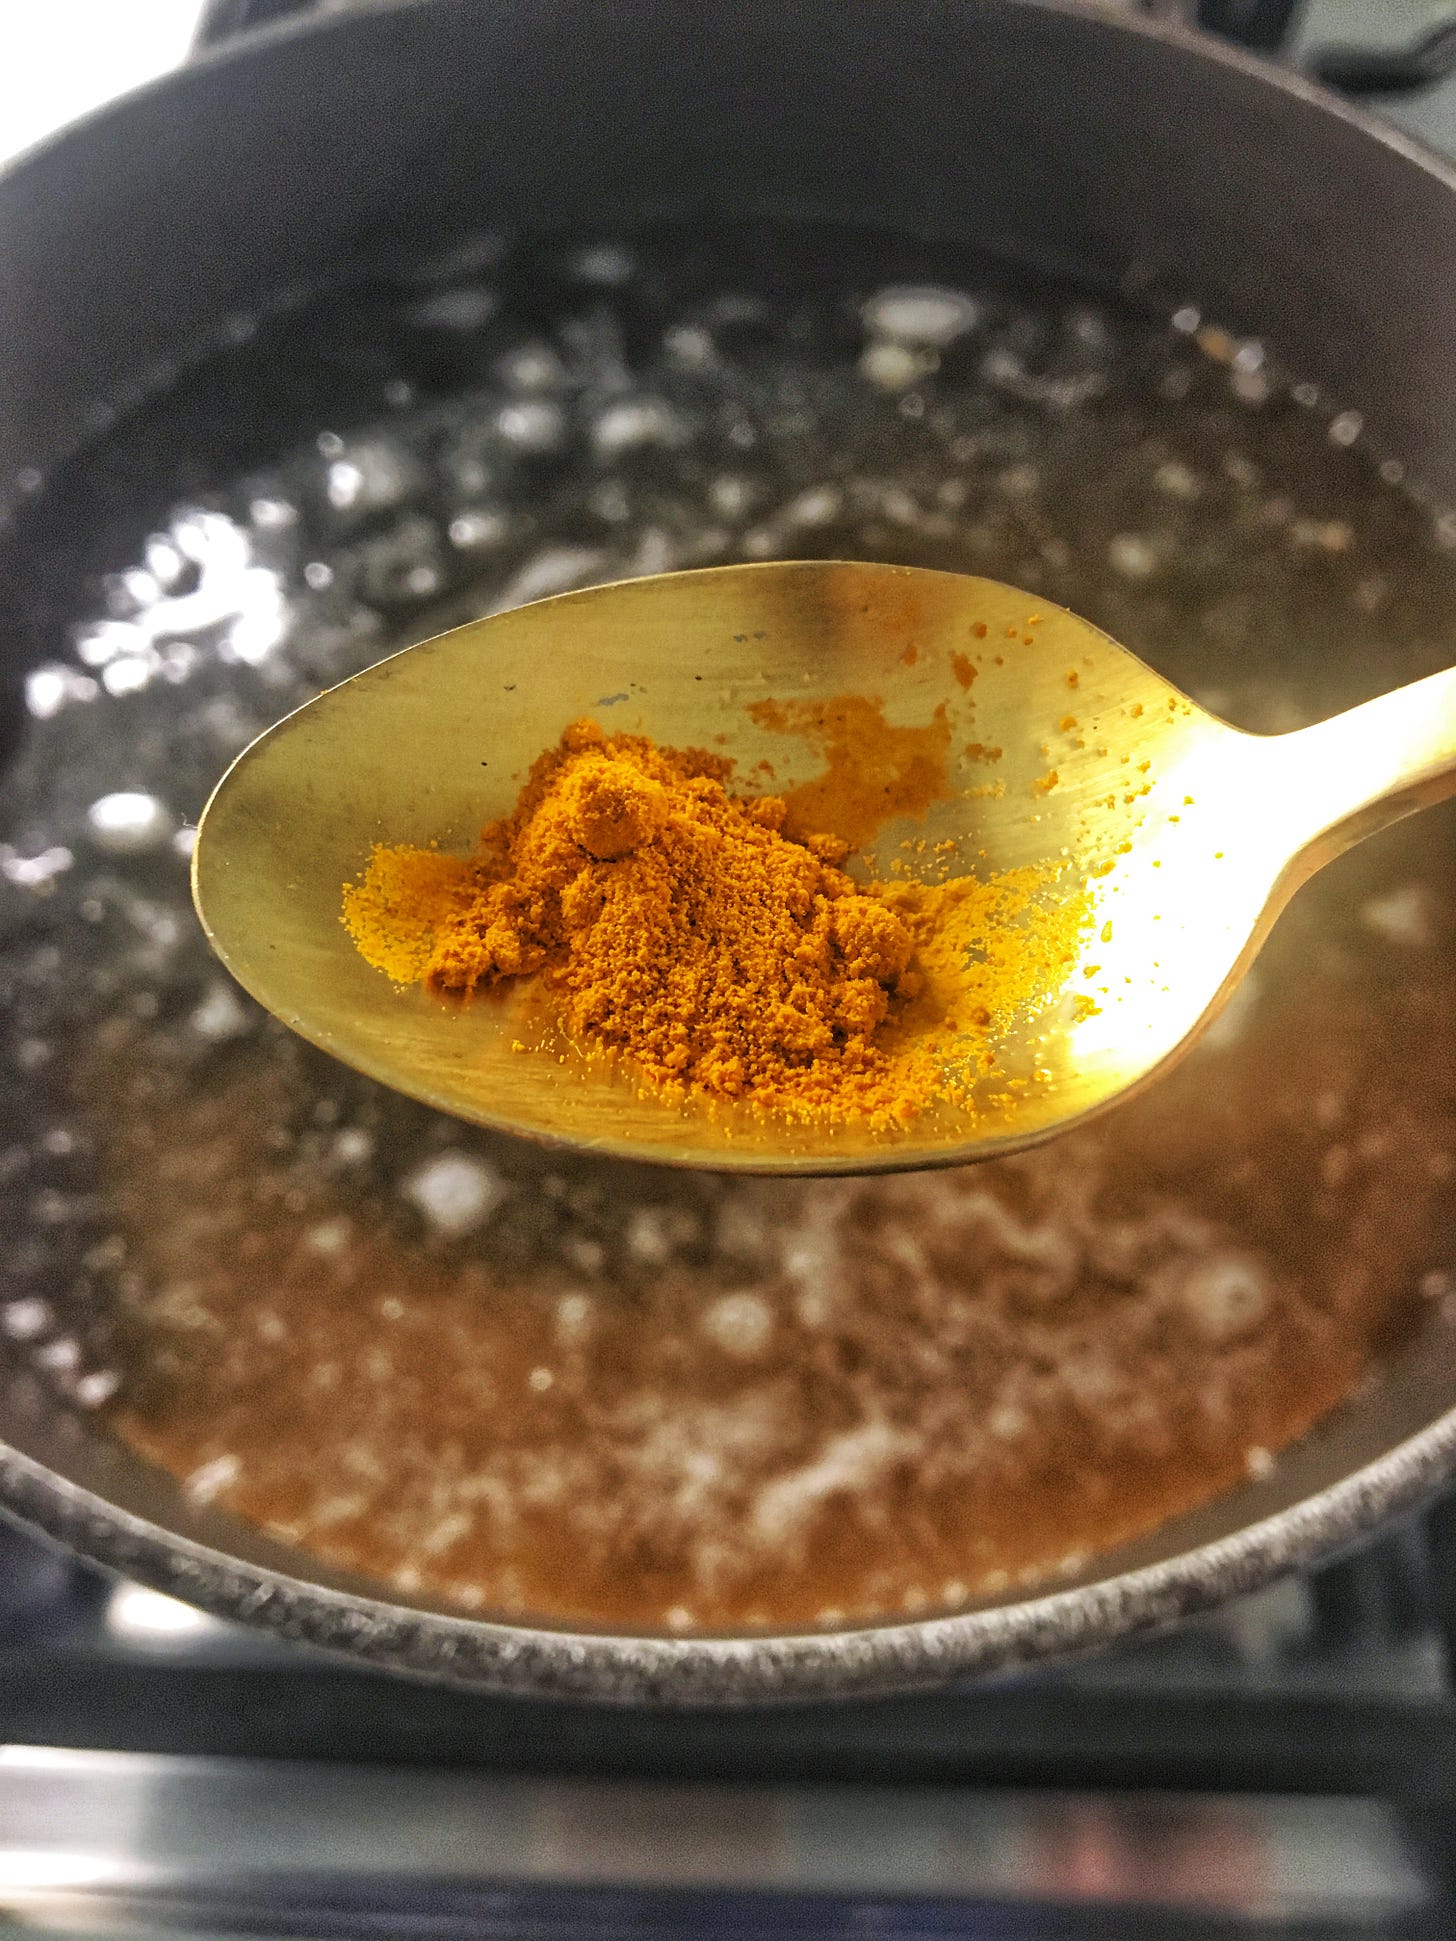
Add some turmeric, too. This stuff can be strong, so start with a little bit and add more later if you want it.

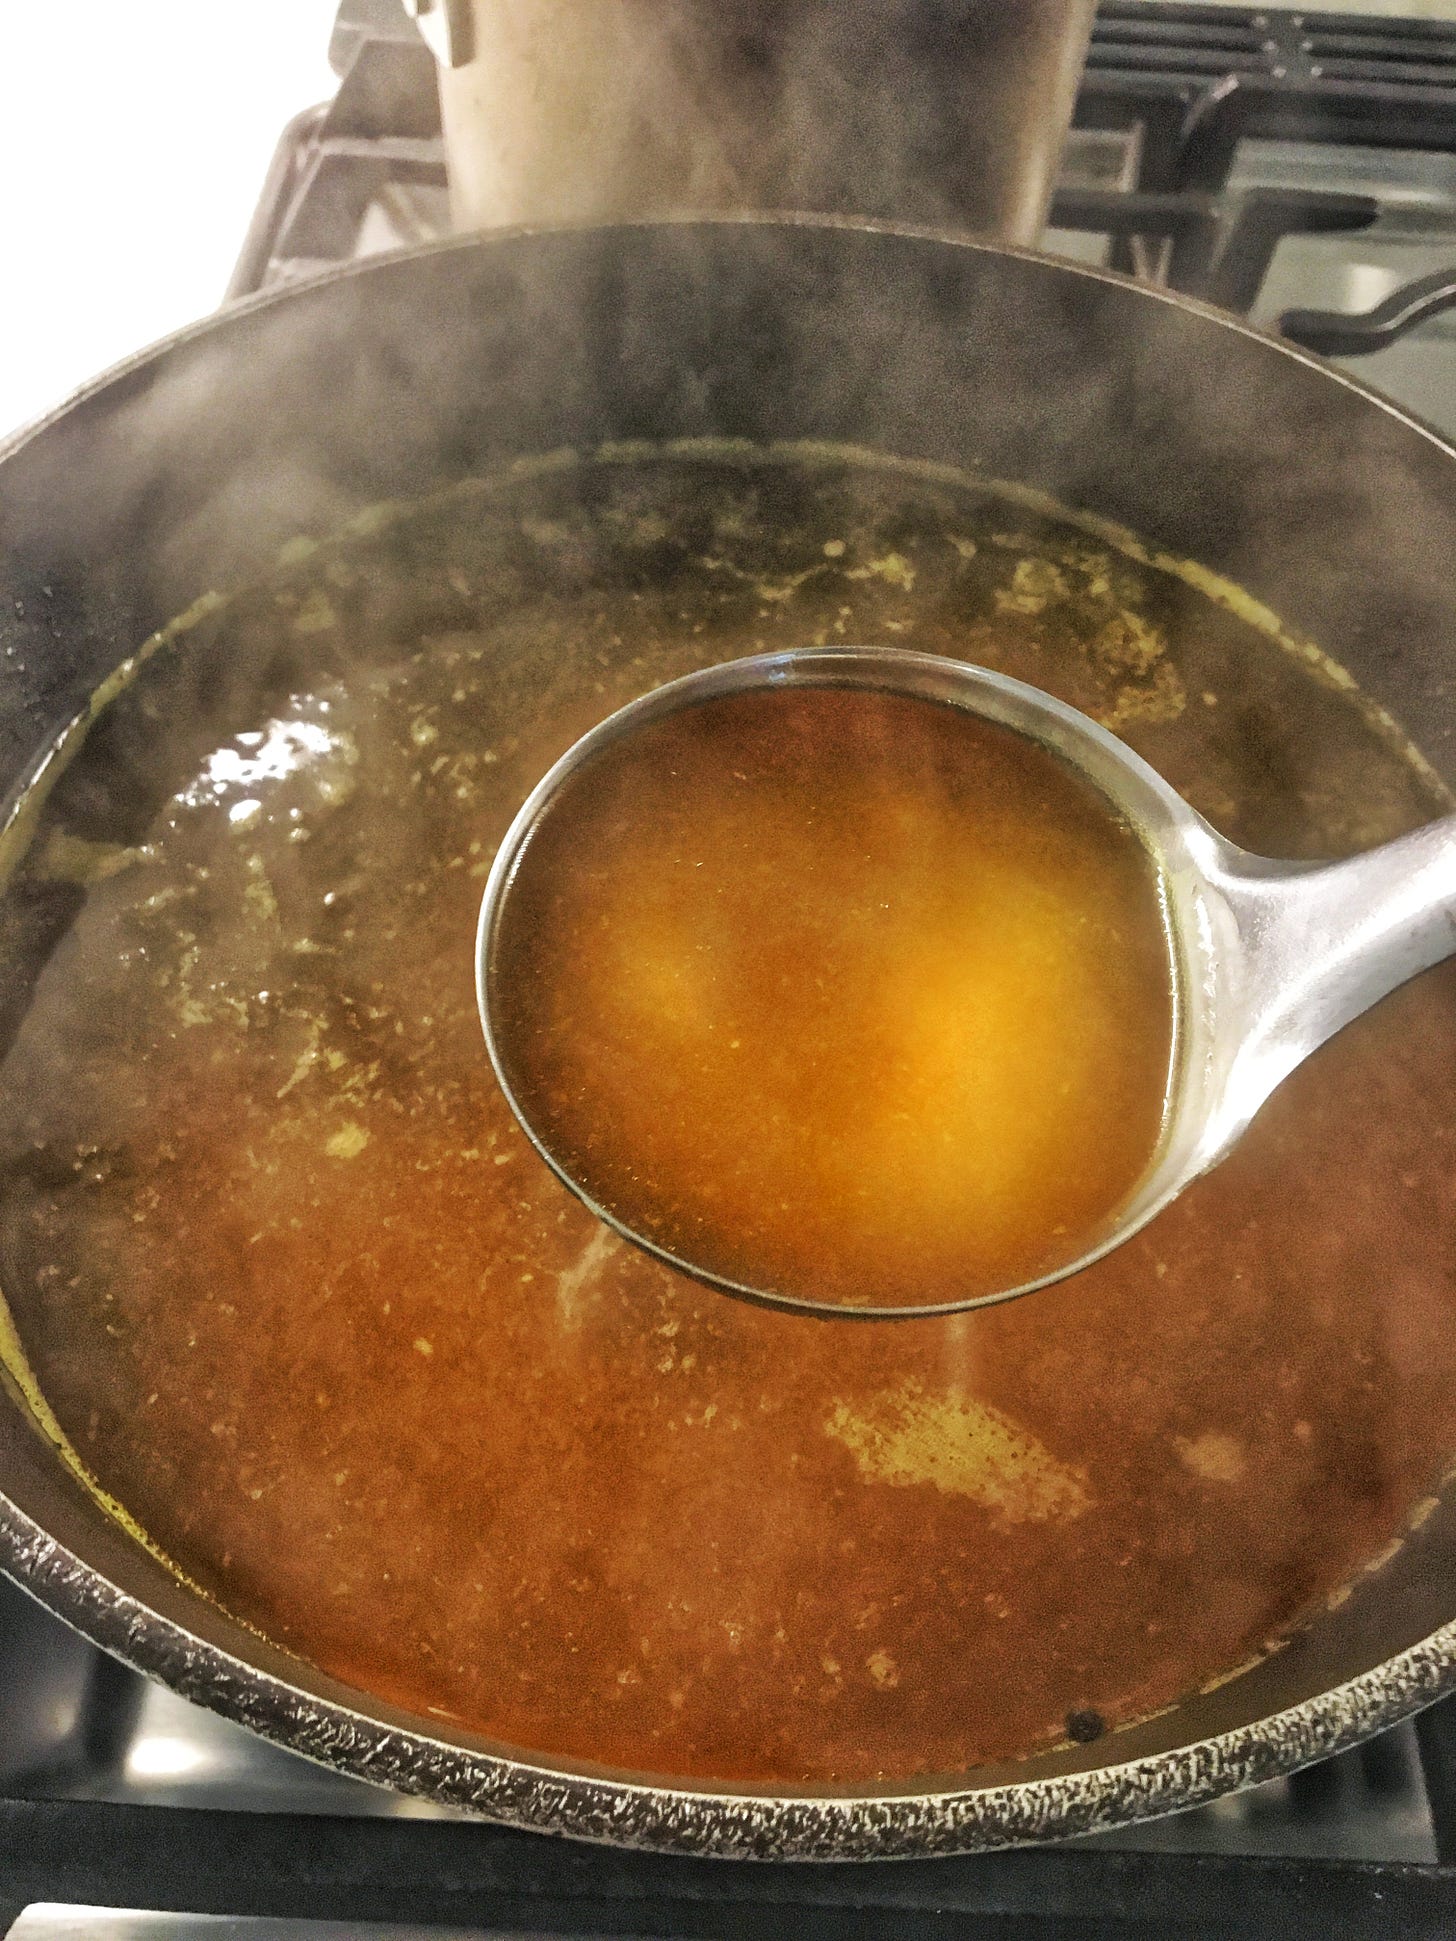
Mix it all in and let it get warm and simmery.

Mug it up, serve, sip, live forever with shiny hair and great skin.

This is completely weather-inappropriate, but enjoy it anyway!
xx Jill


